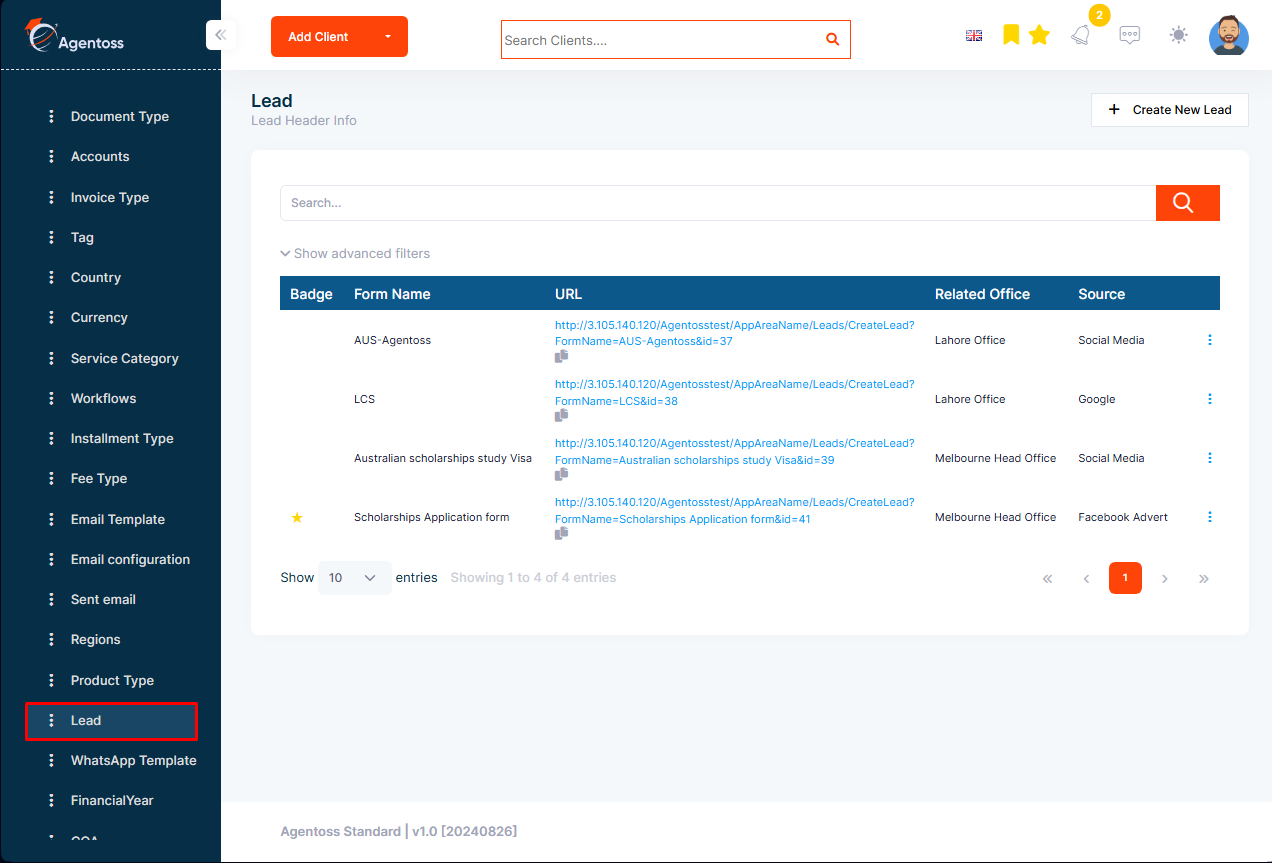
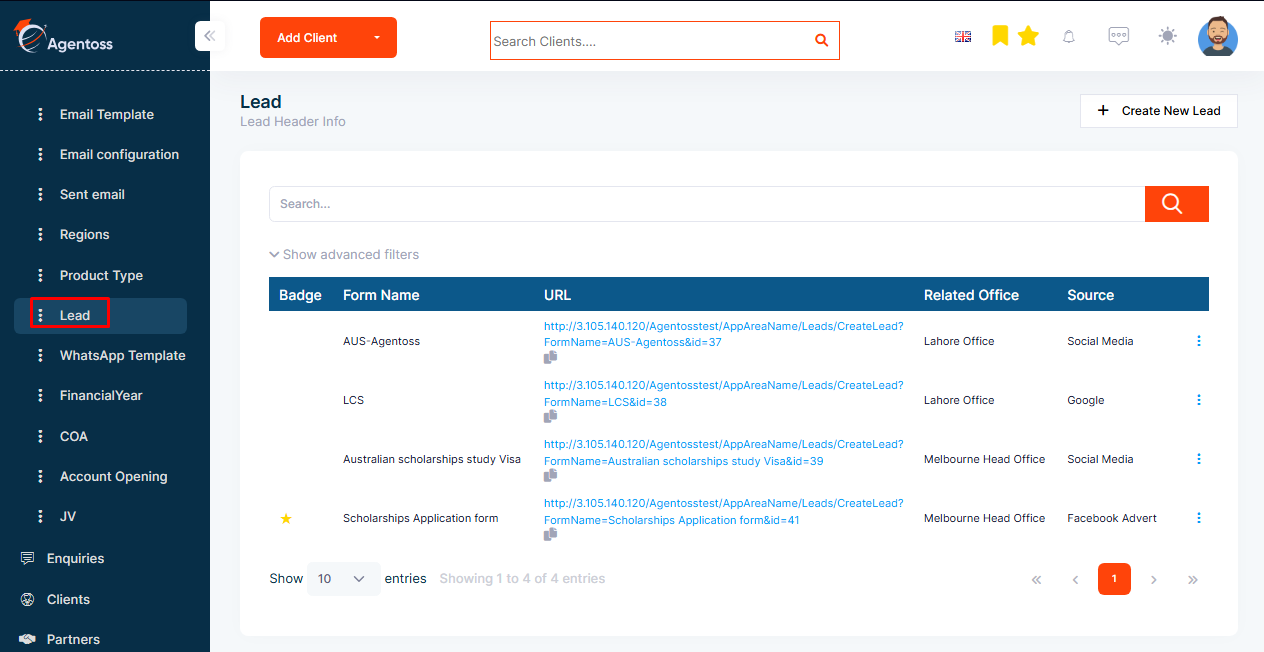
Step 1: Select Lead Form from the list.
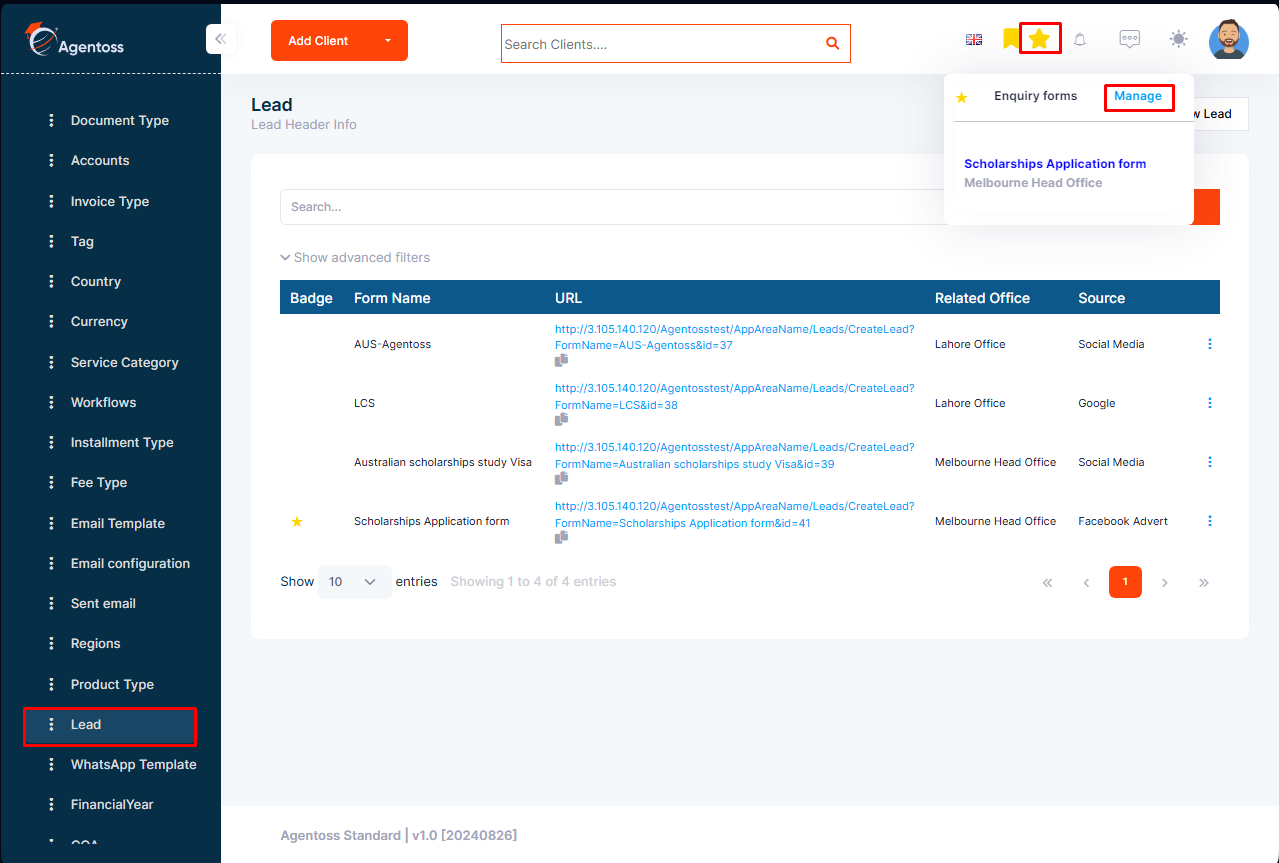
Or ,
Select the Favorite Enquiry Forms icon and then select Manage.
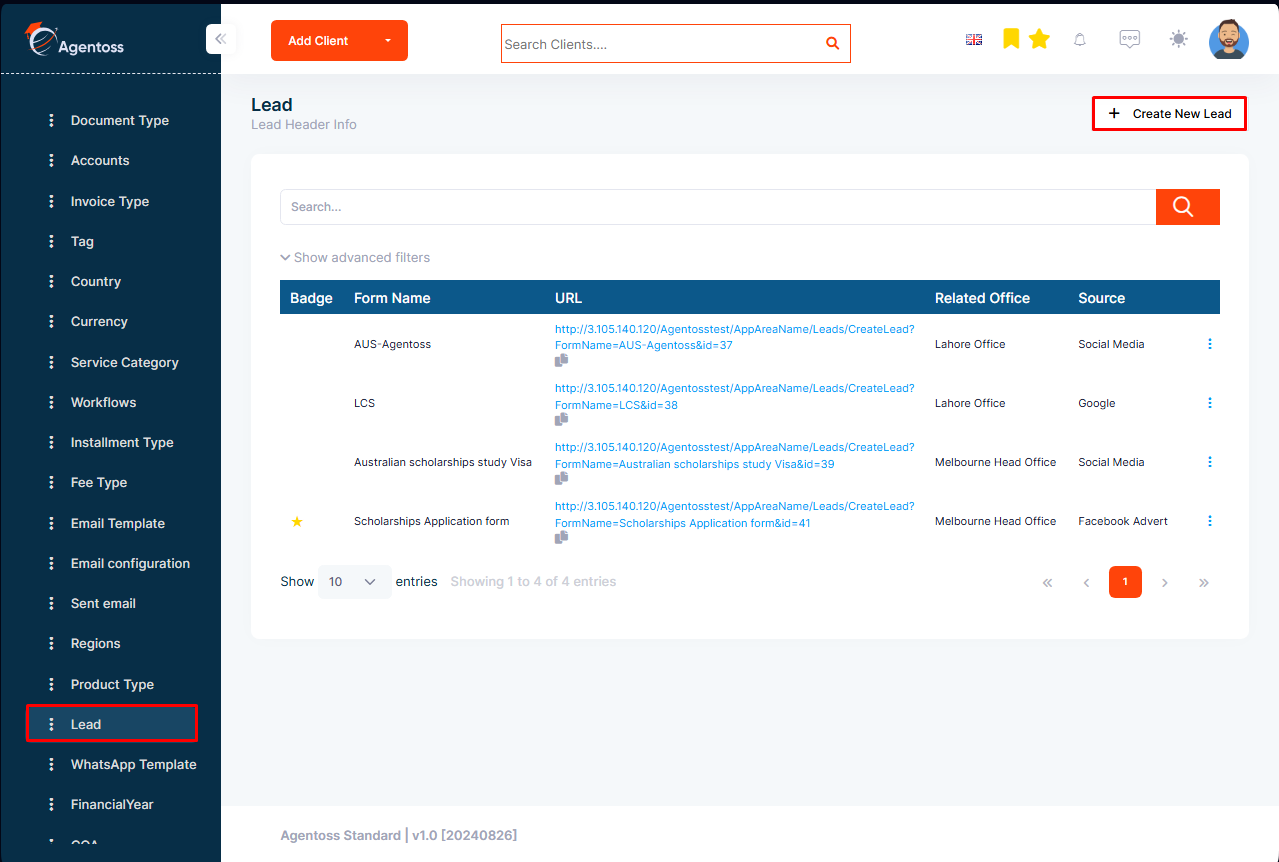
Step 2: Select On the lead form list page, click on the Create New Lead Form button. Then you can create your customizable lead form to meet your requirement depending on the source.
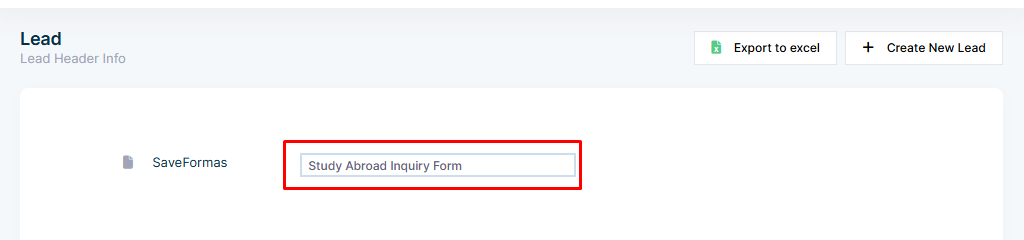
Step 3: Give the lead form a suitable name to save form as. (It is mandatory). When naming a Lead Form, make it clear and relevant to its purpose. You can base the name on the service, campaign, or target audience. For example:
- Service-Based: “Study Abroad Inquiry Form”
- Campaign-Based: “Education Fest Registration Form”
- Target Audience-Based: “Undergraduate Course Inquiry Form”
- General: “Client Inquiry Form”
A clear and descriptive name helps you easily track and manage leads.
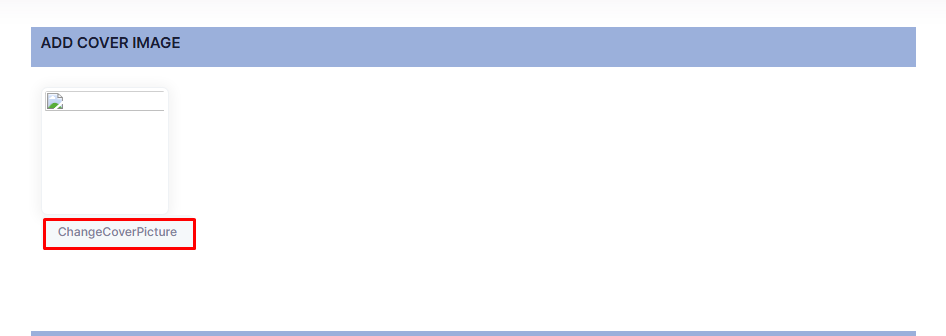
Step 4: You can add a cover image in your form from the ADD COVER IMAGE section. The cover image of a lead form plays an important role in attracting attention and making the form more engaging. You can add your company logo or other relevant images like students, university or visa related visuals.
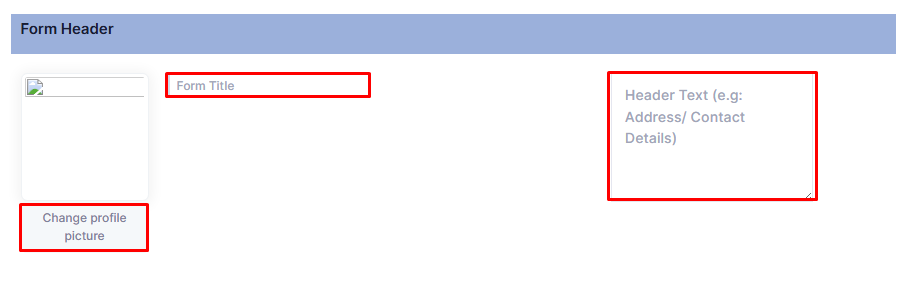
Step 5: Add a header to make your form look more professional. In the form header section you can add your company logo and the title of the form. You can also include header text which could be your address or contact information.
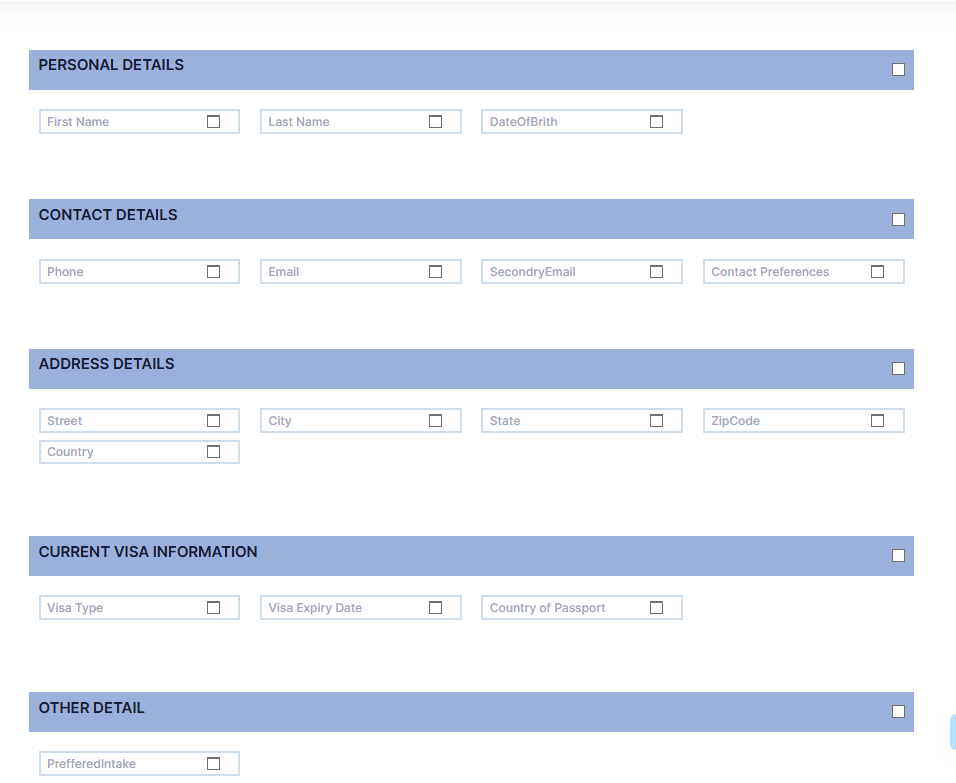
Step 6: Now, choose the fields you wish to have in your form. You can first select the system fields..
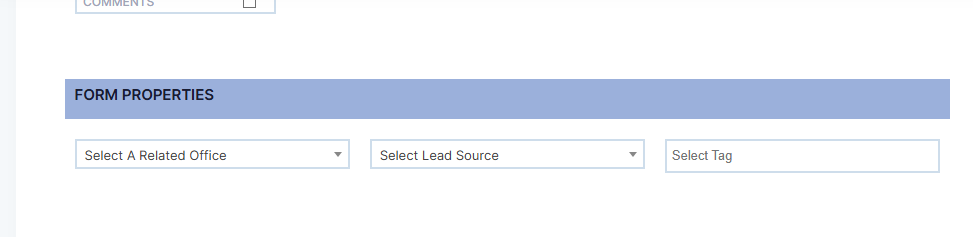
Step 7: Select the Office where you want the form to relate. After you select the office, reference sources associated with it will be listed. Select the Reference Source & Tag name from the source field.
- Tags categorize leads based on attributes like interests or priority (e.g., “Visa Assistance” or “Undergraduate Program”). This helps tailor your follow-ups.
- Source indicates where the lead came from (e.g., website, social media, event), helping you understand which marketing efforts are most effective and allowing you to follow up accordingly.
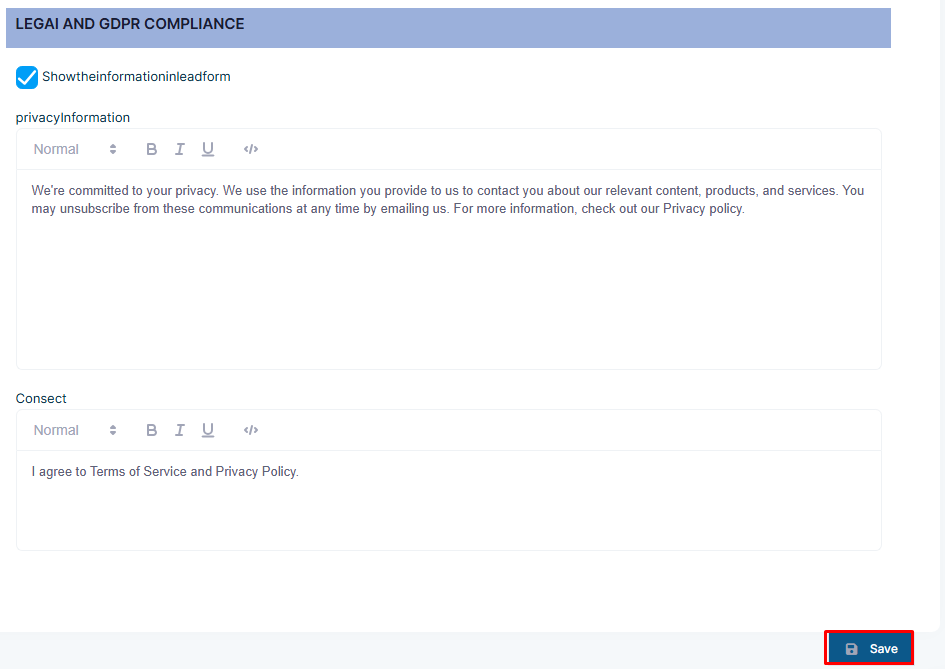
Step 8: Now, if you are complete with the setting, click on the Save button to save the web form.
Step 9: Your Lead Form will be listed in the Lead form list view.