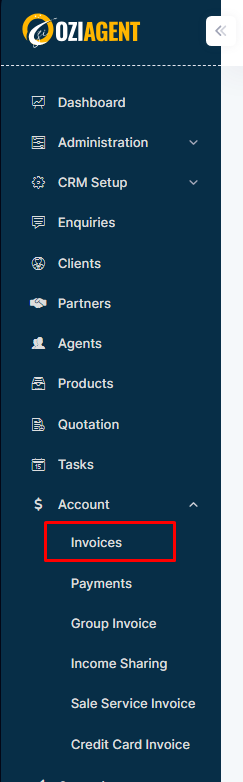
Step 1: Select Accounts from the side navigation bar and then select Invoices.
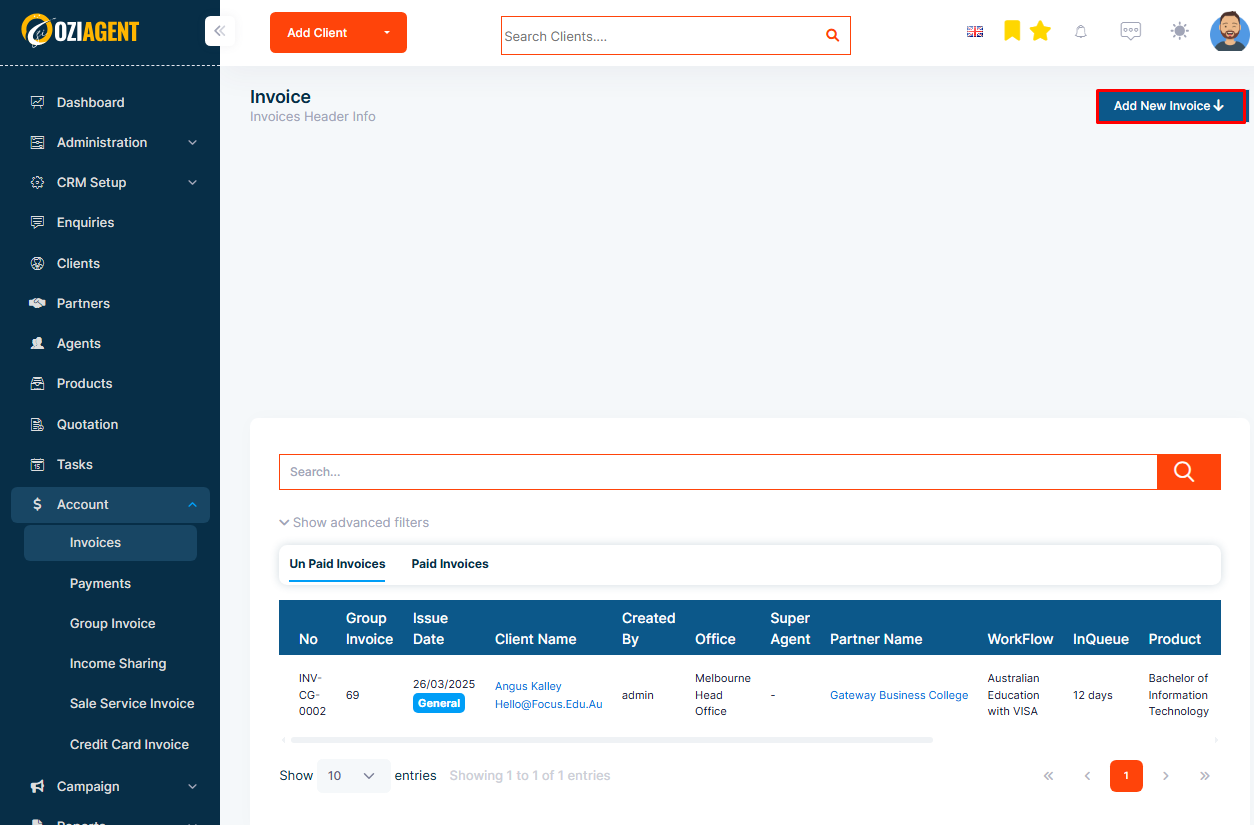
Step 2: Select Create Invoice.
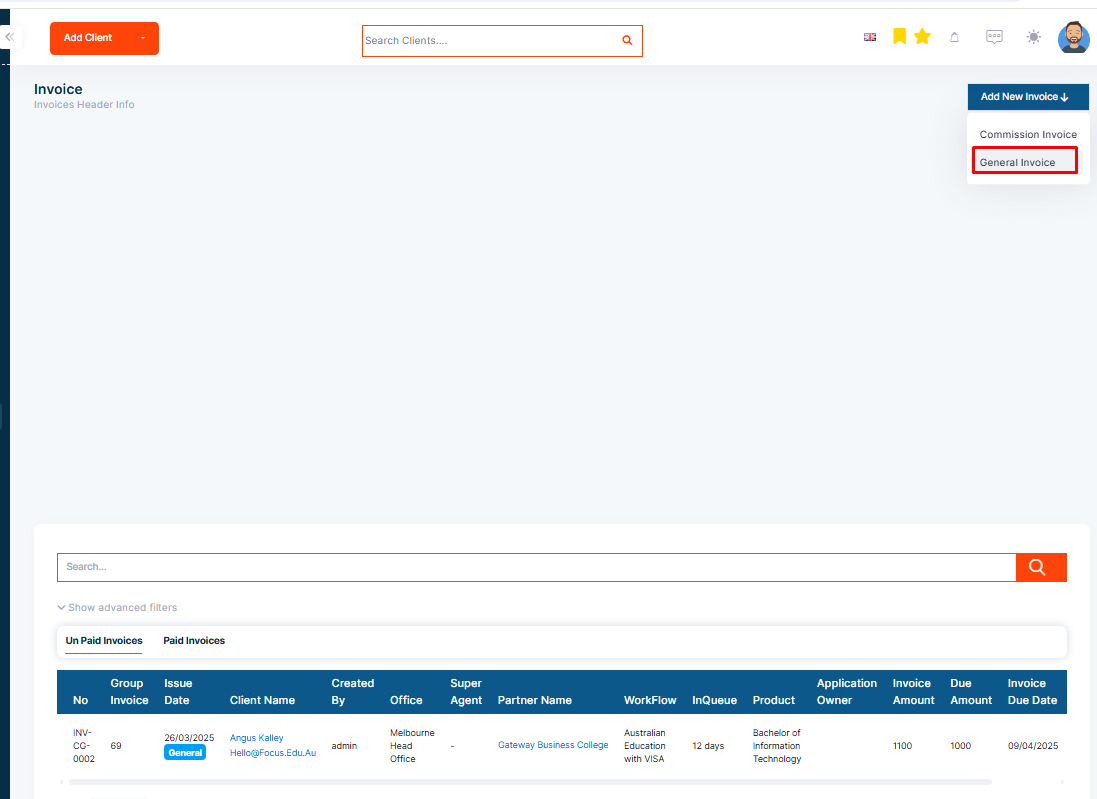
Step 3: Select General Invoice from the dropdown.
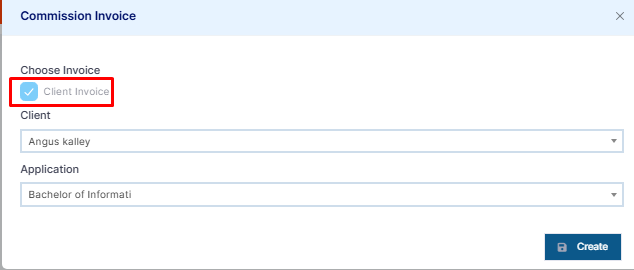
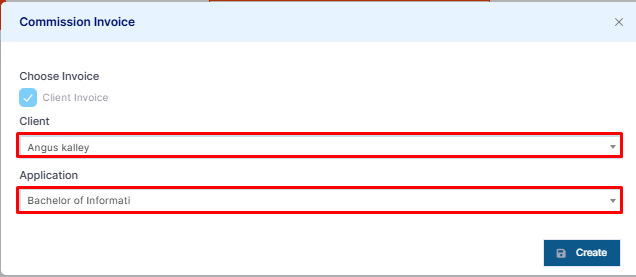
Step 4: Select the client invoice in the pop-up form.
Step 5: Select the client and the service workflow.
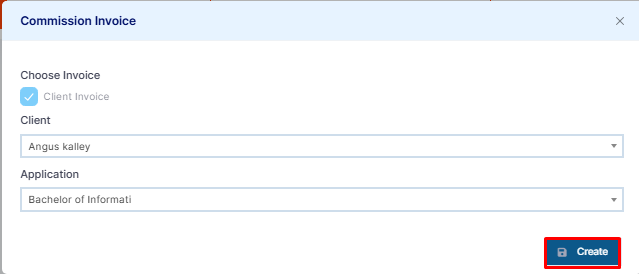
Step 6: Then select Create Invoice.
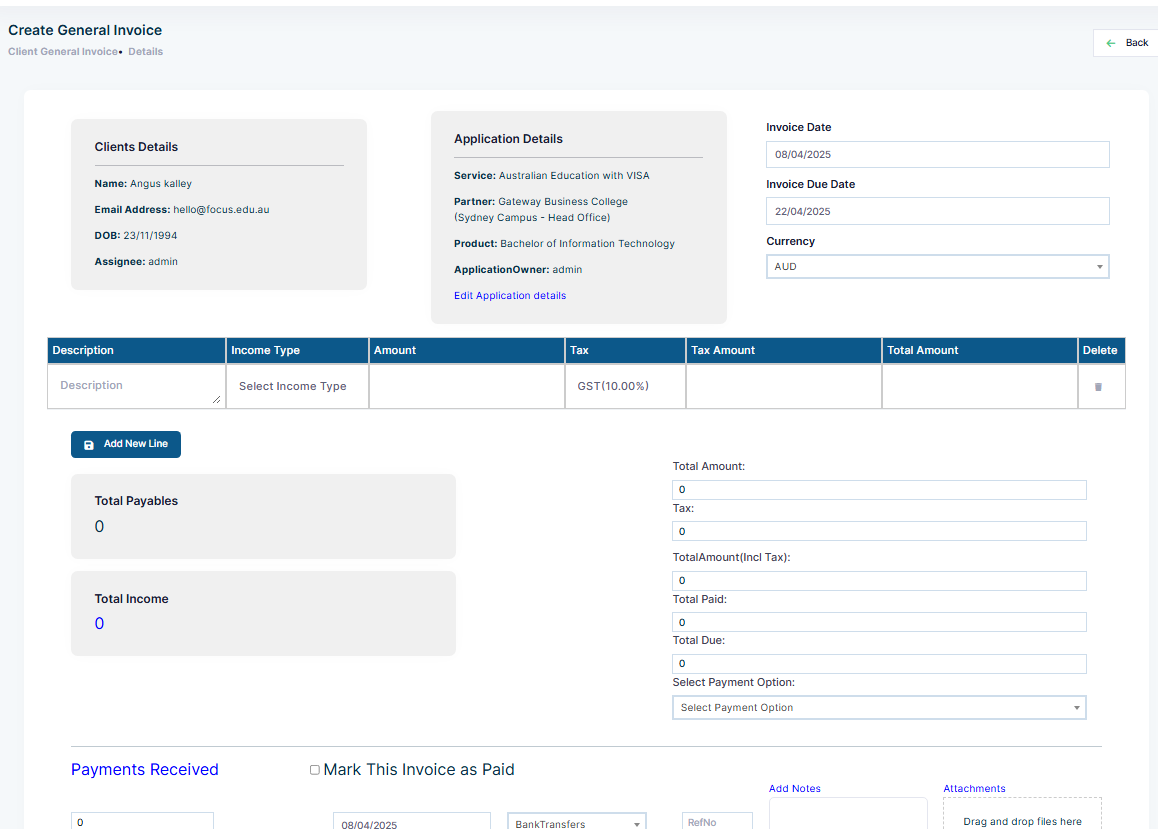
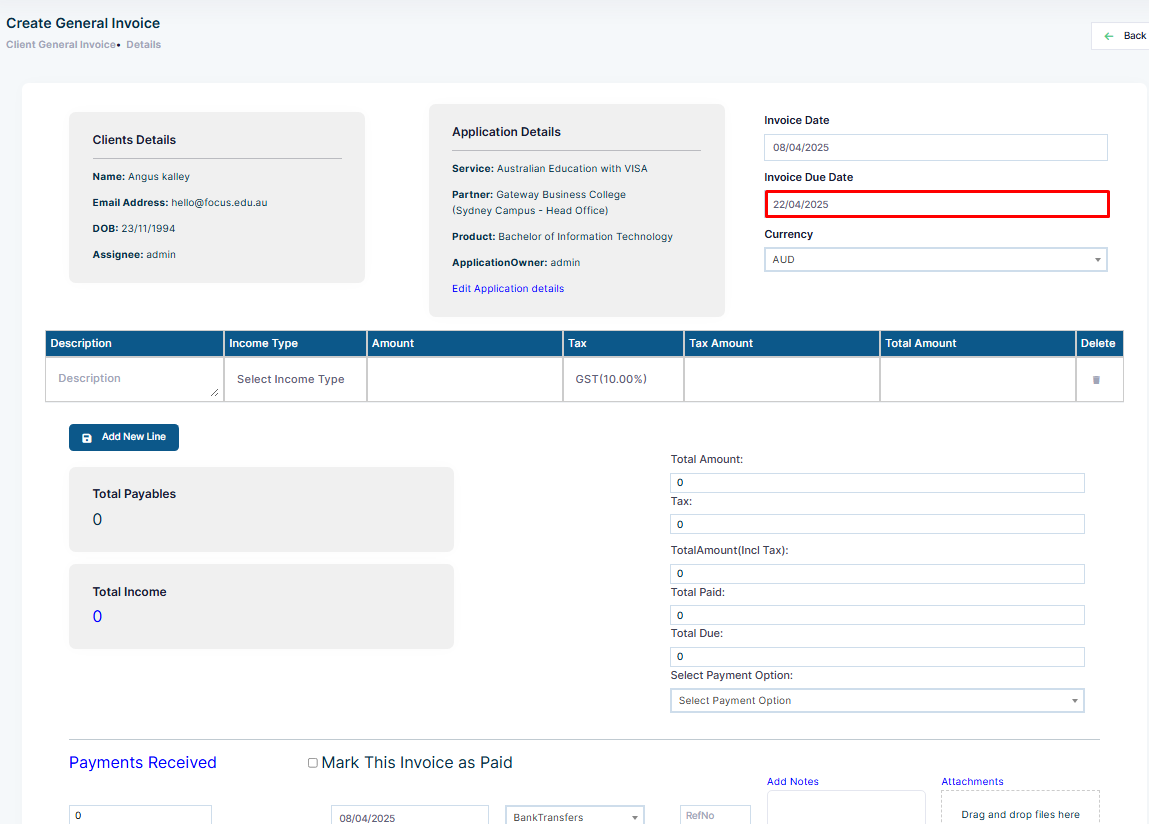
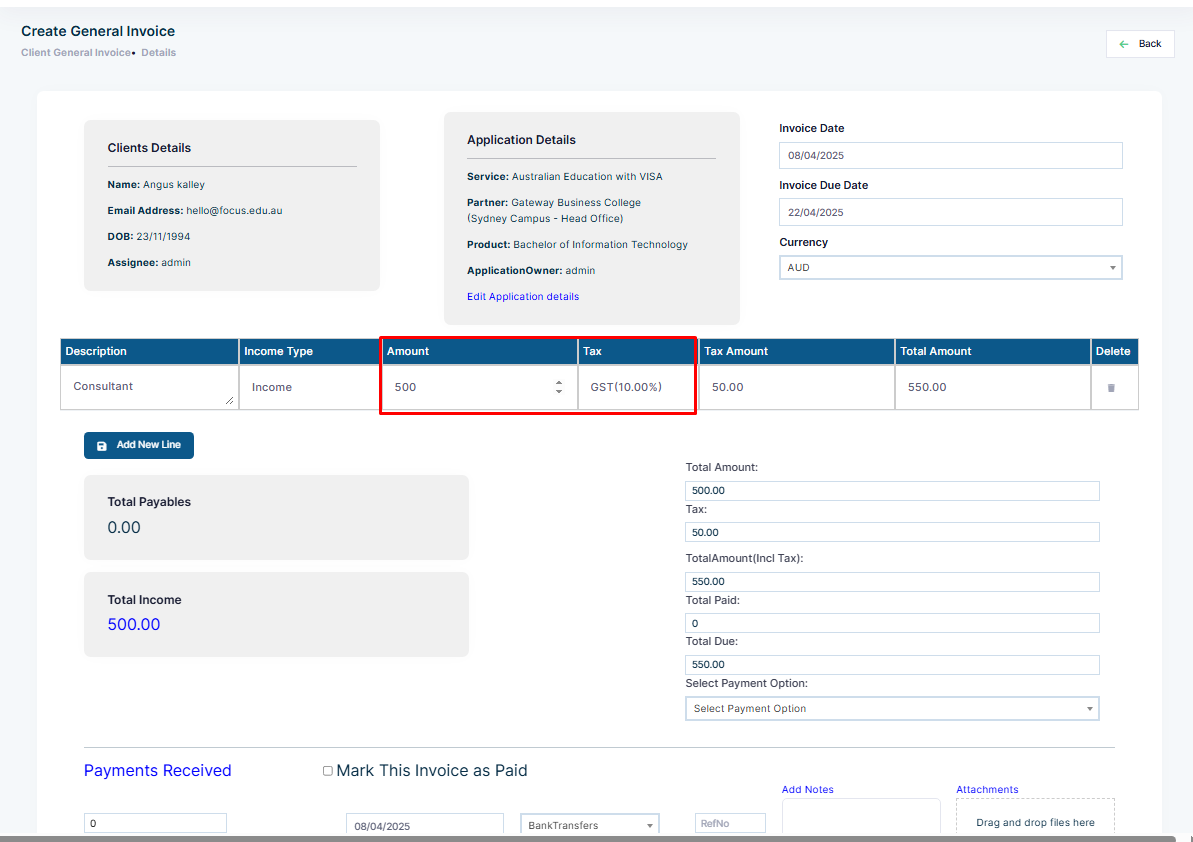
Step 7: You will land on the form to fill in the information regarding your general invoice.
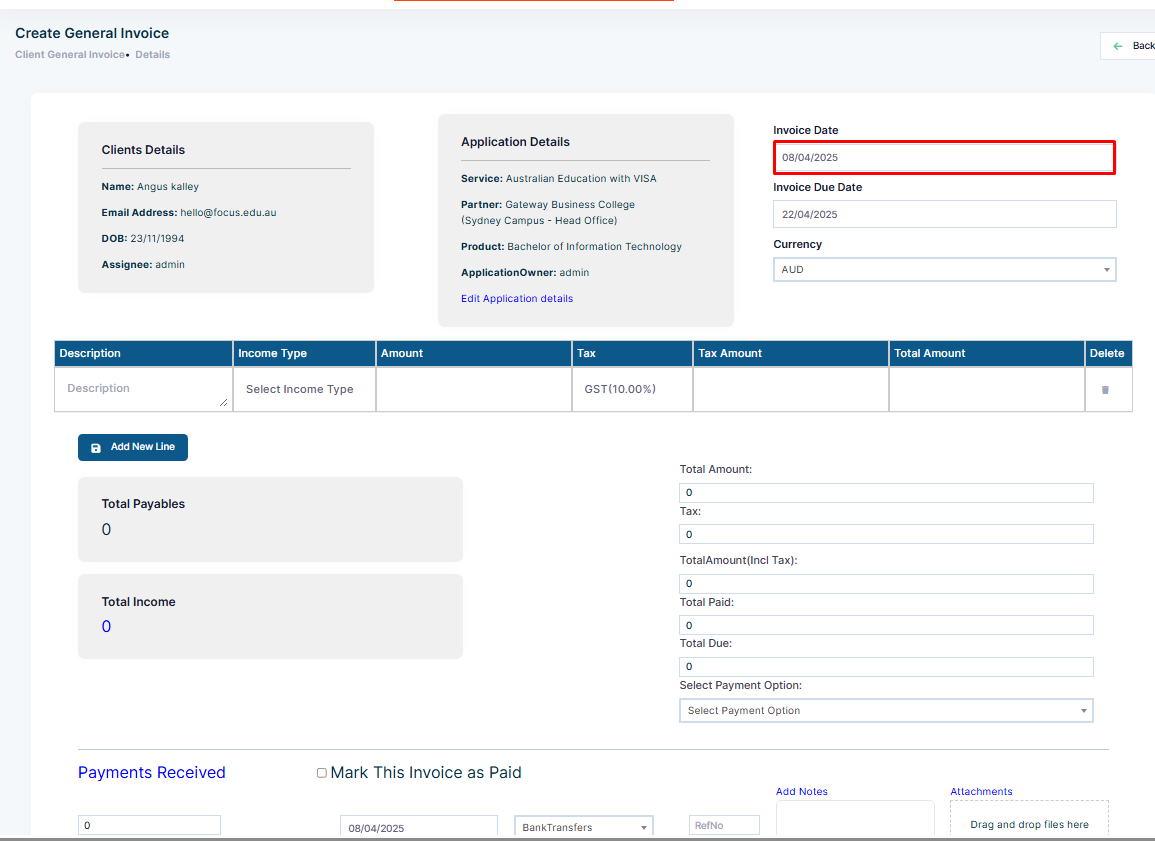
Step 8: Choose the invoice date, which is the date of creation of the invoice.
Step 9: Choose the invoice due date, which is the date for the invoice to be paid.
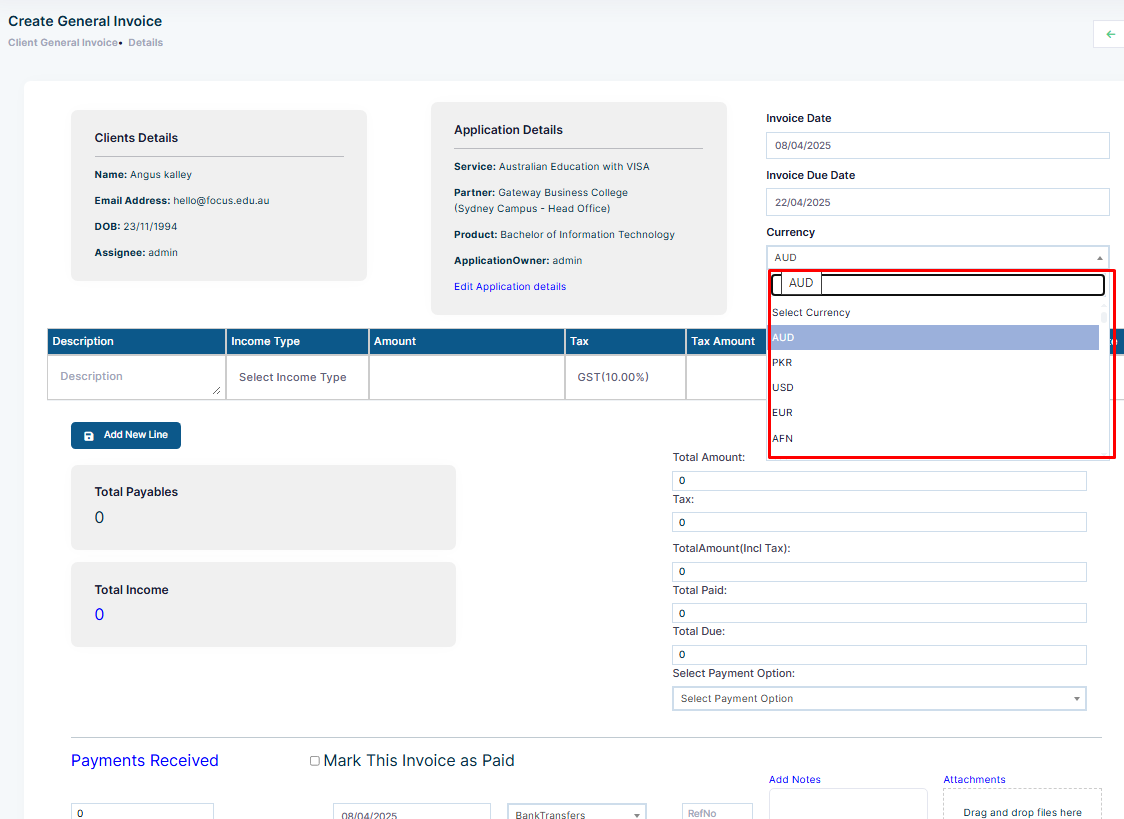
Step 10: Select the currency of the Invoice.
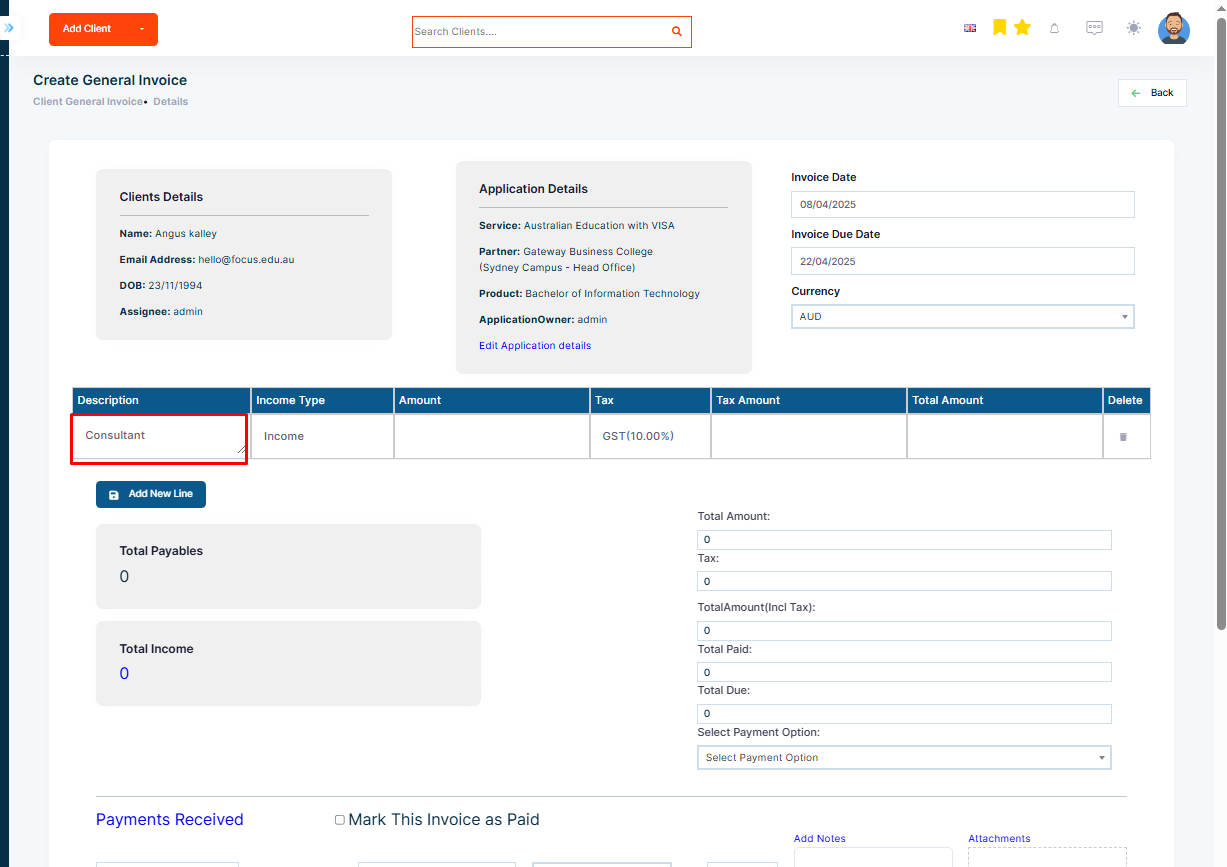
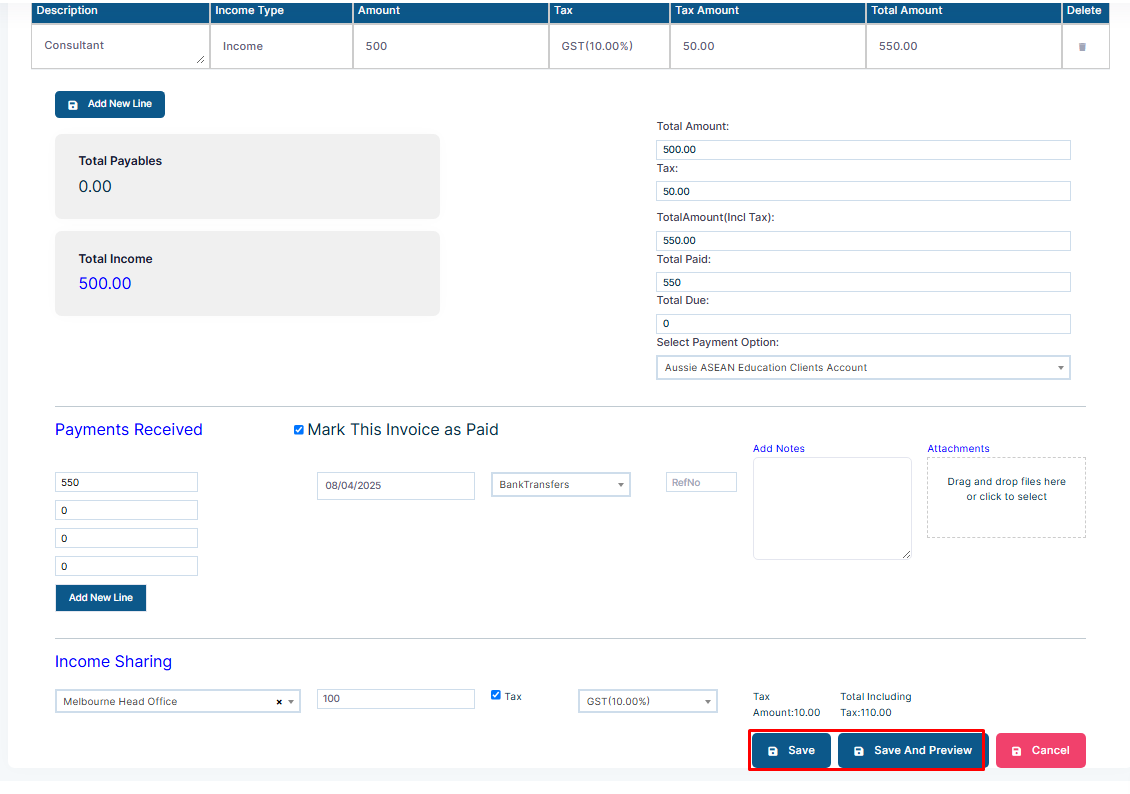
Step 11: Fill in the details such as Visa Application Fee in the table of the description.
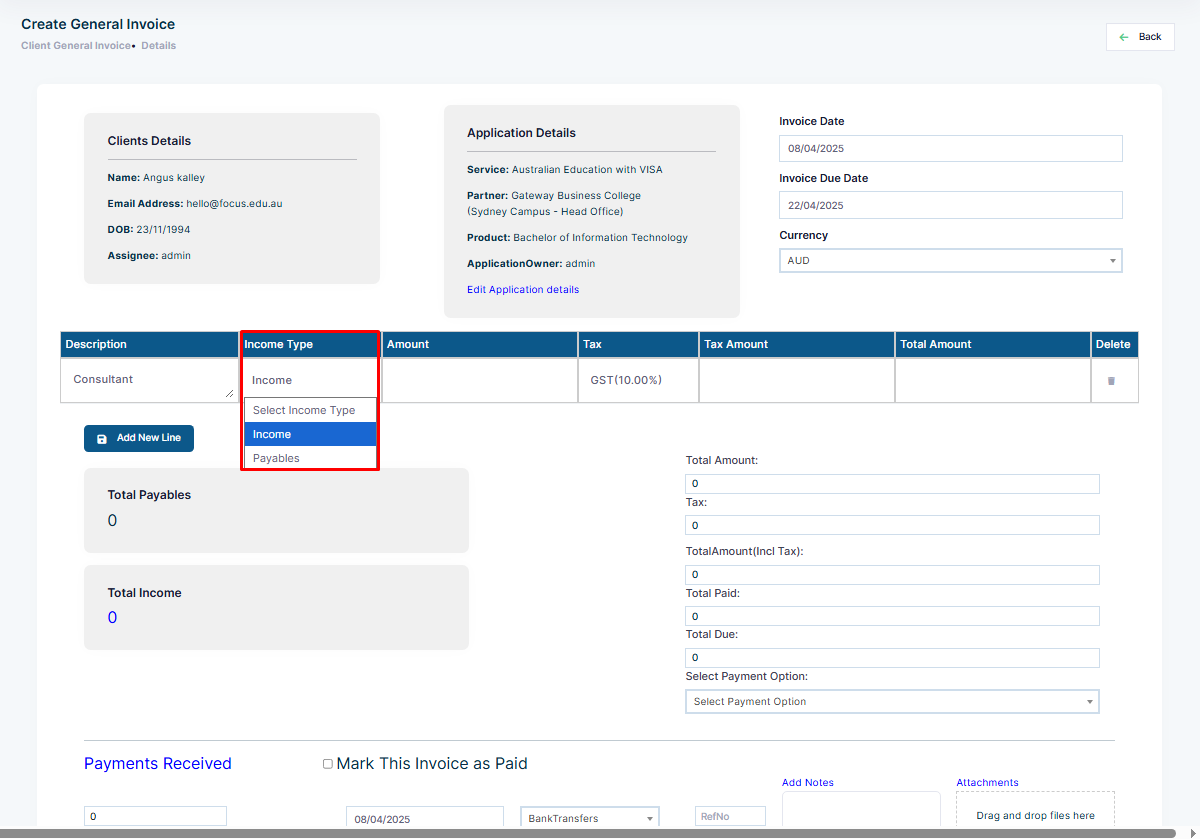
Step 12: Select the Income Type, which is either income or payable.
Step 13: Similarly, add the amount and select the tax code. The tax amount and the total amount will be calculated automatically.
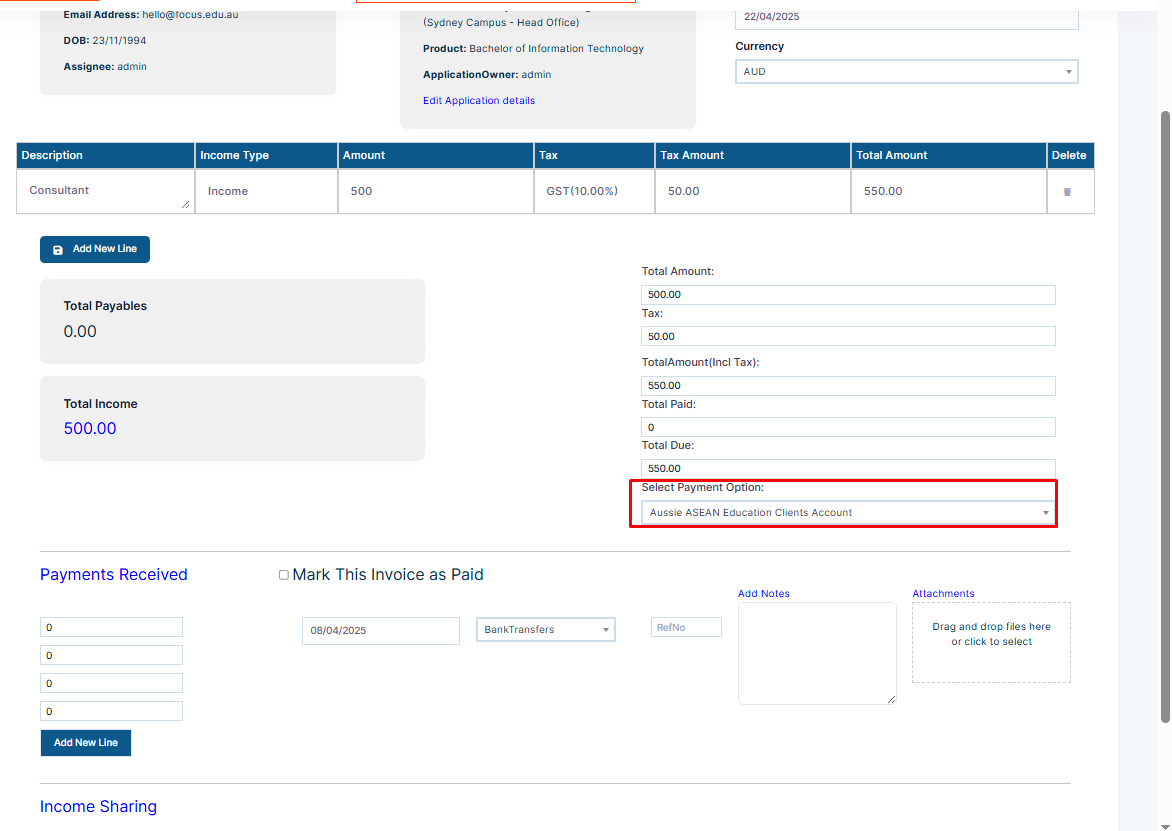
Step 14: You can select the payment option that will be included in the invoice.
Please Note: The payment details are added from the account settings. To learn how to add the payment details, follow the following link:
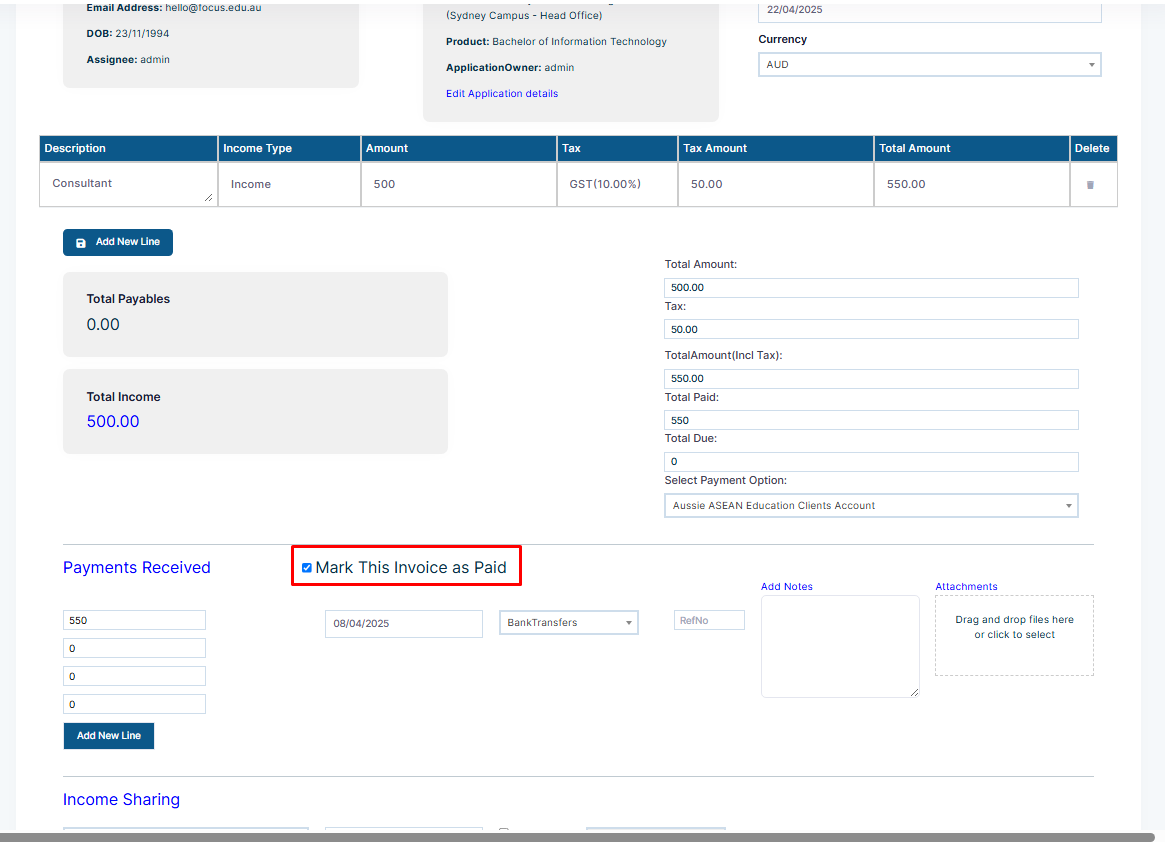
Step 15: On Payment detail, you can click on the checkbox of “Mark this invoice as paid” if the invoice is a paid invoice.
Please Note: Once you mark the invoice as paid, the total amount of the invoice is auto-filled in the payment received section. If the payment is made partially, you can add the partial amount as well to denote that a partial amount of this invoice has been paid by the client.
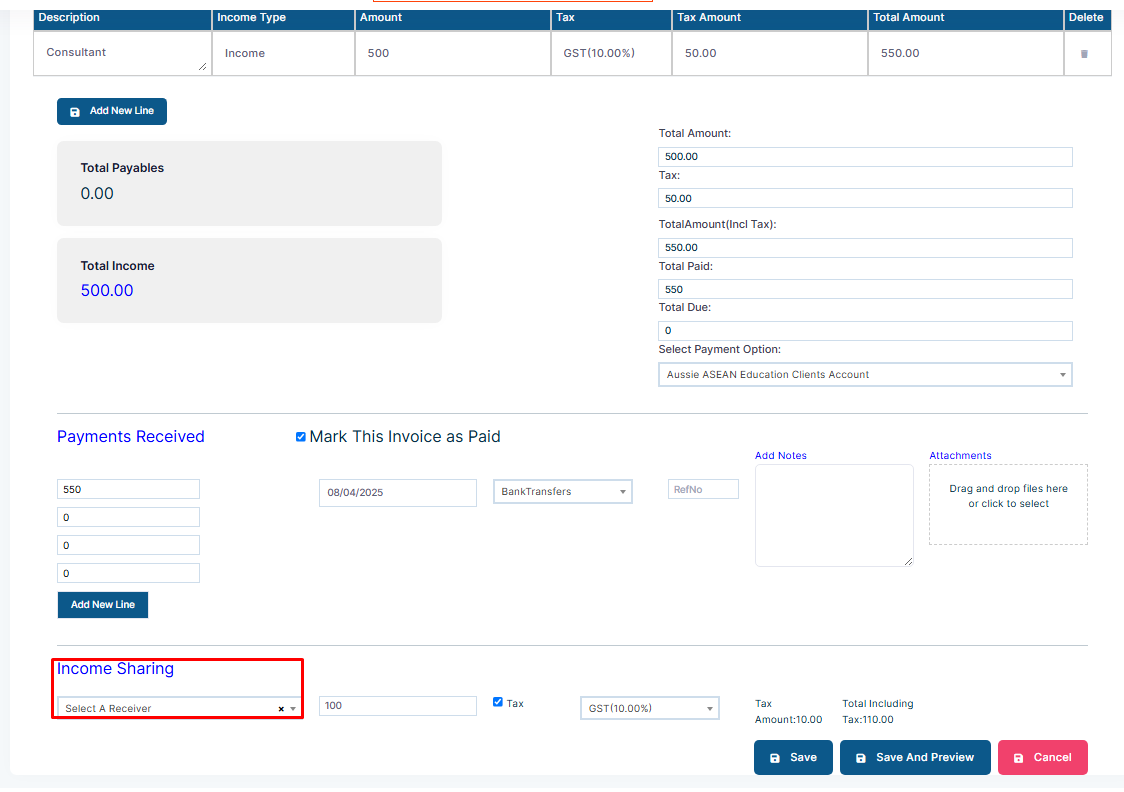
Step 16: The income-sharing part allows you to share the income amount with a receiver, which is either another branch or a subagent.
Step 17: After filling out all the details, click on Save or Save and Send.